
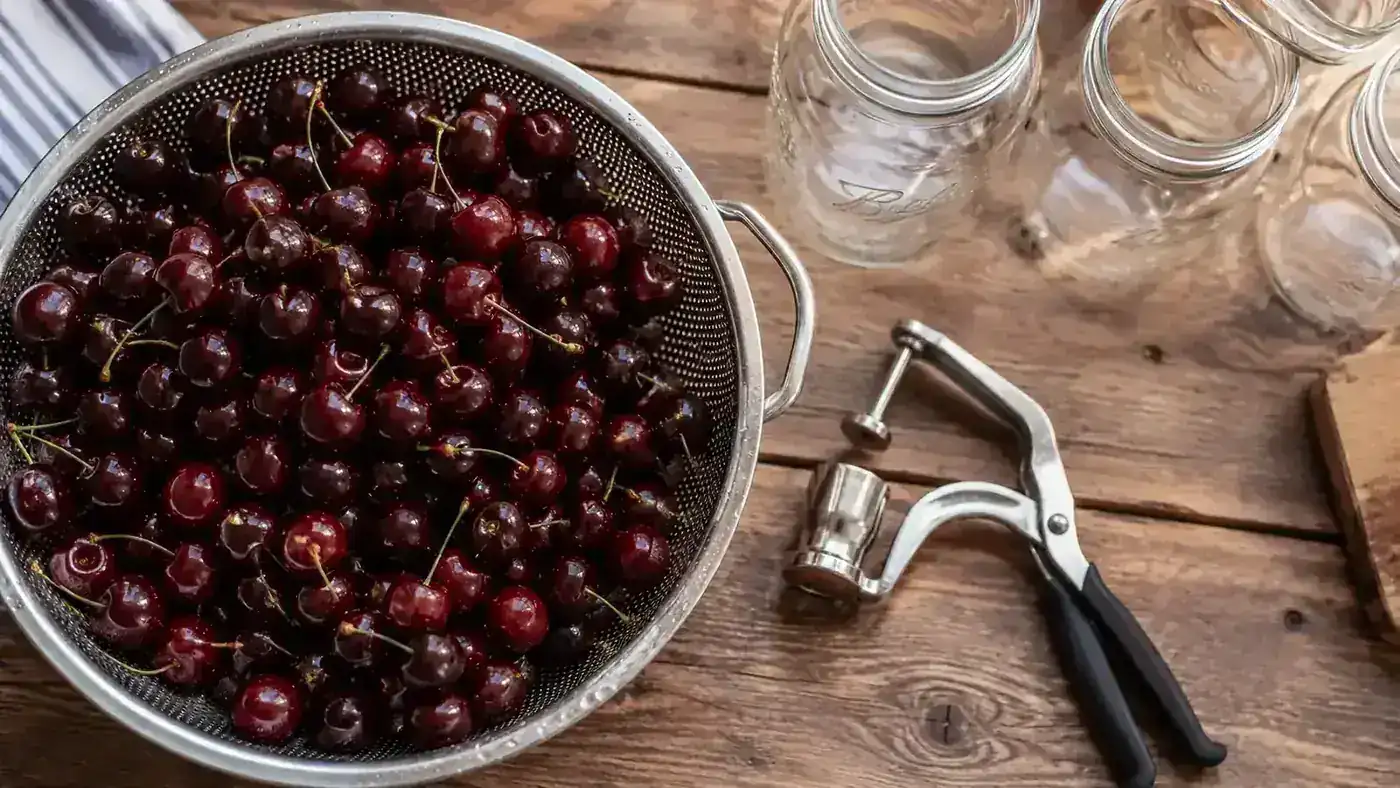
Every July my sour cherry tree out back drops close to 15 pounds of fruit inside of a week, and for a long stretch of years that meant three exhausting nights at the sink with a paring knife, slicing each cherry in half and digging the pit out with my thumbnail. My hands stayed stained red for days and I'd burn through most of my energy on my days off before the jam even hit the stove. The summer I picked up the EddHomes 7-in-1 cherry pitter, that math changed completely. What used to eat 45 minutes for two pounds of cherries now takes me about 12, and I still have unbruised thumbs when I'm done.
If you're standing over a colander of cherries wondering how you'll get through all of them before they start going soft, here's exactly how I pit a full harvest for canning, start to finish, using the same handheld cherry pitter I've now run through close to 40 pounds of fruit this season alone. This isn't a theoretical guide written from a recipe box. It's the routine I actually follow the night before a 12 hour shift, when the cherries won't wait for a day off.
It doesn't matter much whether you're working through tart Montmorency cherries off your own tree, a flat of sweet Bing cherries from the farmers market, or a mixed bag of Rainier and Bing from the grocery store. The steps below work the same way for all of them, though the tart varieties tend to be a little softer and need a gentler squeeze so you don't crush the fruit while the pit pushes through.
The Tool That Turns a Bucket of Cherries Into an Afternoon Project, Not a Weekend One
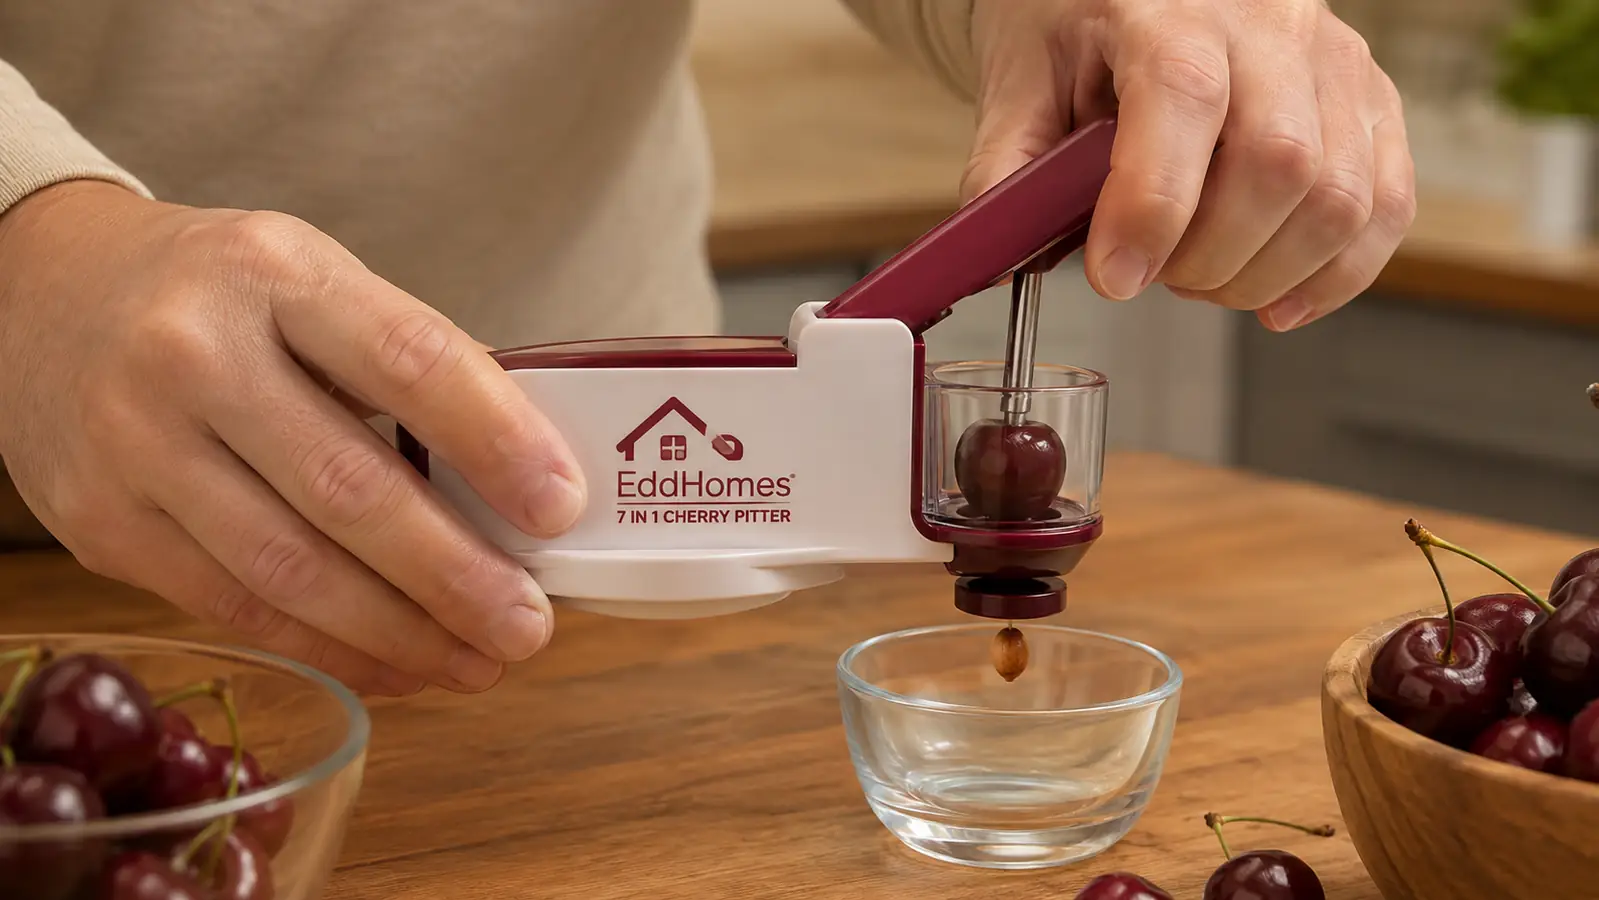
The EddHomes 7-in-1 cherry pitter is a spring-loaded stainless steel squeeze tool that punches the pit straight through the cherry in one motion, no knife, no thumbnail, no staining your cutting board red. It also handles olives and small plums, and it comes apart for a quick rinse under the tap. At the current price it's paid for itself in saved evenings before you've even filled your first jar.
Amazon Check Today's Price on Amazon →Step 1: Sort and Rinse Before You Pit a Single Cherry
Dump the whole harvest into your sink and go through it by hand first. Pull any cherry that's gone soft, split its skin, or grown a fuzzy spot, those go straight into the compost, not the canning pot. One bad cherry can turn a whole jar off if it slips through, so this sort takes me maybe five minutes for a full colander and it's worth every second.
Rinse the good cherries in a colander under cool water and let them drain for a minute or two. You don't need them bone dry, a little surface moisture actually helps them slide into the cherry pitter's cup instead of sticking. Pull off any remaining stems while they're still in the colander so you're not fishing for them one at a time later.
If you can't get to the whole harvest in one sitting, sorted and rinsed cherries hold up fine in the fridge for a day or two. Once they're pitted, though, don't let them sit around uncovered. The cut surface starts to darken and lose juice within a few hours, so I only pit what I can can or freeze that same day.
Step 2: Set Up a Pitting Station That Won't Stain Your Counters
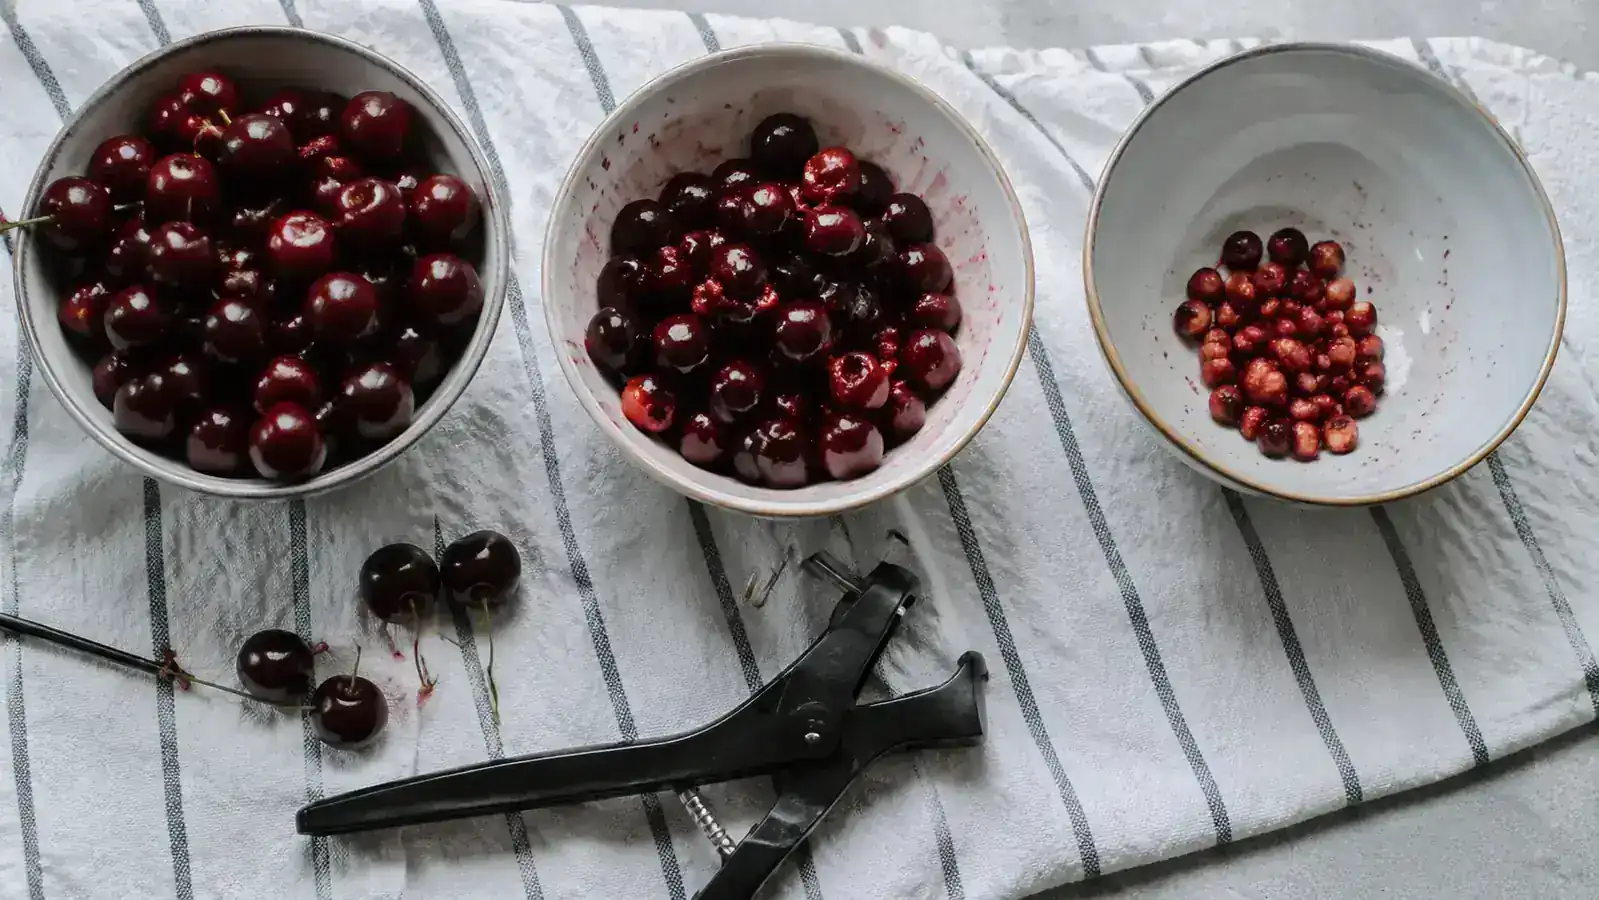
Line up three bowls before you start: one holding the rinsed, unpitted cherries, one for the pitted cherries, and a small one just for pits and stems. I put a folded kitchen towel under the whole setup because cherry juice will find the one gap in your counter you forgot to wipe. Wearing an old dark apron isn't paranoia, it's just what six summers of cherry season taught me.
Keep the cherry pitter itself right in front of you, angled so the pit drops down into its bowl instead of onto the counter or your shirt. If your model has a splatter guard or hinged flap, snap it into place now. Some cherries, especially the fully ripe ones, will spit juice a surprising distance the first time you squeeze, and it always seems to land on the one shirt you didn't want to change out of.
If you're pitting a large batch for freezing rather than canning, set out a sheet pan lined with parchment as your fourth station. Cherries that go straight from the pitter onto a flat tray and into the freezer come out as loose, scoopable fruit instead of one frozen clump, which matters a lot when you only want a handful for a smoothie in February.
Step 3: Load and Squeeze, One Cherry at a Time
Drop one cherry stem-side up into the cup of the cherry pitter, close the handles, and squeeze in one firm, even motion. You'll feel the plunger push the pit clean through and out the bottom. Don't pump it in short jabs, one solid squeeze does the job and keeps the fruit from tearing apart.
Once you find the rhythm, it's genuinely fast. I load with my left hand, squeeze with my right, and drop the pitted cherry straight into the second bowl without looking down. After the first dozen or so, most people fall into a pace of one cherry every two to three seconds, which is where the real time savings over knife-pitting shows up.
If a cherry keeps slipping loose in the cup instead of catching, it's usually one of the smaller or slightly underripe ones. Rather than fighting it, I toss those aside into a separate little pile and pit them last with a bit of extra pressure, or just save them for eating fresh. Forcing a cherry that won't seat right is how you end up with a half-pitted mess and juice everywhere.
Watch where your fingers sit on the handles, especially if you've got kids helping out. The pivot point on a spring-loaded cherry pitter isn't dangerous the way a knife is, but it will pinch if a small hand wanders too close to the hinge. I keep my off hand well back from that joint out of habit at this point, even solo.
Step 4: Work in Small Batches to Keep Your Pace Steady
Instead of trying to pit an entire five-pound haul in one long stretch, I work in batches of a cup or two at a time. Every couple of batches, I empty the pit bowl so it doesn't overflow, and if the cherry pitter's cup starts feeling sticky from juice buildup, I give it a quick rinse under the tap. That thirty-second pause actually keeps you faster overall because a gummed-up spring mechanism slows every squeeze after it.
This is also the point where I swap in the next batch of rinsed cherries so there's never a lull. On a heavy harvest day I'll get through six or seven pounds this way in under an hour, which is roughly what one and a half nights of knife work used to cost me. I've started timing myself just out of curiosity, and the batching alone shaves several minutes off compared to pitting straight through without a break.
I also size my batches to match what a single canner load needs. A standard water bath canner holds seven quart jars or nine pints, so I'll pit exactly enough cherries for that load before I even think about starting the next one. It keeps me from ending up with more pitted fruit than I have jars ready to fill.
Step 5: Get Pitted Cherries Ready for the Jar
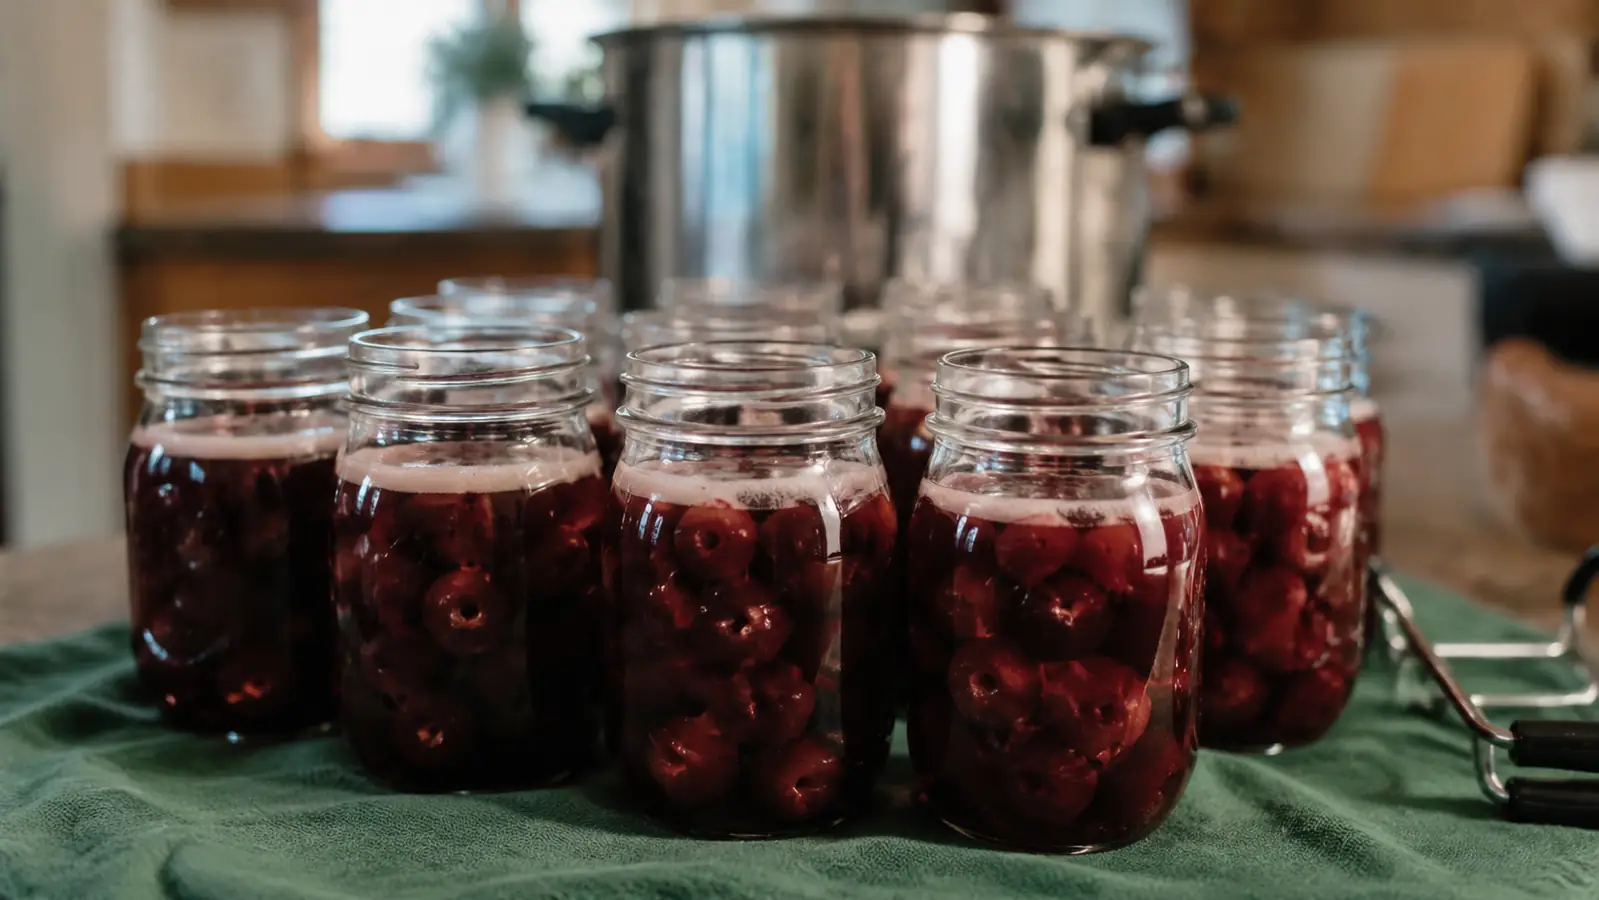
Once your bowl of pitted cherries is where you want it, measure out whatever your canning or jam recipe calls for. For a basic canned cherry pack, I layer the fruit into hot, sterilized jars and top with a light syrup, leaving the headspace my recipe specifies, usually a half inch for pints. For jam, I macerate the pitted cherries with sugar and a splash of lemon juice for about 20 minutes before they go into the pot, which pulls out extra juice and gives a better set.
Wipe the jar rims clean before adding lids, since stray cherry juice on the rim is the most common reason a seal fails. From there it's your usual water bath canner routine, processed for the time your specific recipe and altitude call for. I keep a printed processing chart taped inside my pantry door so I'm never guessing on timing after a long shift.
Not every batch has to go into a jar the same day. If I'm too tired to run the canner after a shift, pitted cherries packed into freezer bags with the air pressed out hold their texture well for months, and I'll can them another weekend once I've caught up on sleep. The cherry pitter doesn't care which route you take, it just gets you to pitted fruit faster either way.
What I Liked
- Cuts pitting time to roughly a quarter of the knife method
- Stainless construction has held up through two full canning seasons
- Dishwasher-safe parts, easy to rinse mid-batch
- Handles olives and small plums, not just cherries
- Compact enough to store in a drawer, not a bulky countertop unit
Where It Falls Short
- Very small or underripe cherries can slip loose in the cup
- The spring mechanism needs an occasional rinse or it gets sticky
- One cherry at a time, so it's still work for a large harvest
- Juice splatter is real without the guard in place
What Else Helps
A wide-mouth canning funnel keeps syrup and juice from running down the outside of the jar while you fill, and a jar lifter saves your fingers from the boiling canner water. Neither replaces the cherry pitter, but pairing all three turns cherry canning day from a chore into something closer to a system. I keep mine together in one drawer so I'm not hunting for pieces once the fruit is already piling up on the counter.
A kitchen scale also earns its keep during cherry season. Weighing out the fruit before you pit tells you right away whether you have enough for a full canner load or whether you're better off freezing a partial batch instead. I stopped guessing years ago after ending up with three jars' worth of cherries and only two lids that actually sealed.
Labeling matters more than people think, too. A jar of canned sour cherries and a jar of sweet cherry jam base look nearly identical once they're sealed and stored. I write the variety and the date right on the lid with a permanent marker before it ever goes on the pantry shelf, so I'm not cracking open a jar in January just to find out what's inside.
The cherry pitter didn't just save my thumbs, it saved the two hours a night I used to spend standing at the sink instead of sitting down after a shift.
None of this turns cherry season into something effortless. There's still sorting, still juice on your hands, still a sink full of bowls at the end of the night. But the part that used to genuinely wear me down, the actual pitting, is no longer the bottleneck. That's the difference one small tool made in my kitchen, and it's the reason I reach for it every single July without a second thought.
Don't Let This Year's Harvest Beat You to the Counter
Cherries don't wait. If you've got a tree, a farmers market haul, or a case from the orchard sitting in your fridge, the EddHomes 7-in-1 cherry pitter is the fastest way I've found to get through it before the fruit turns. Grab one before the next batch ripens.
Amazon Check Today's Price on Amazon →