
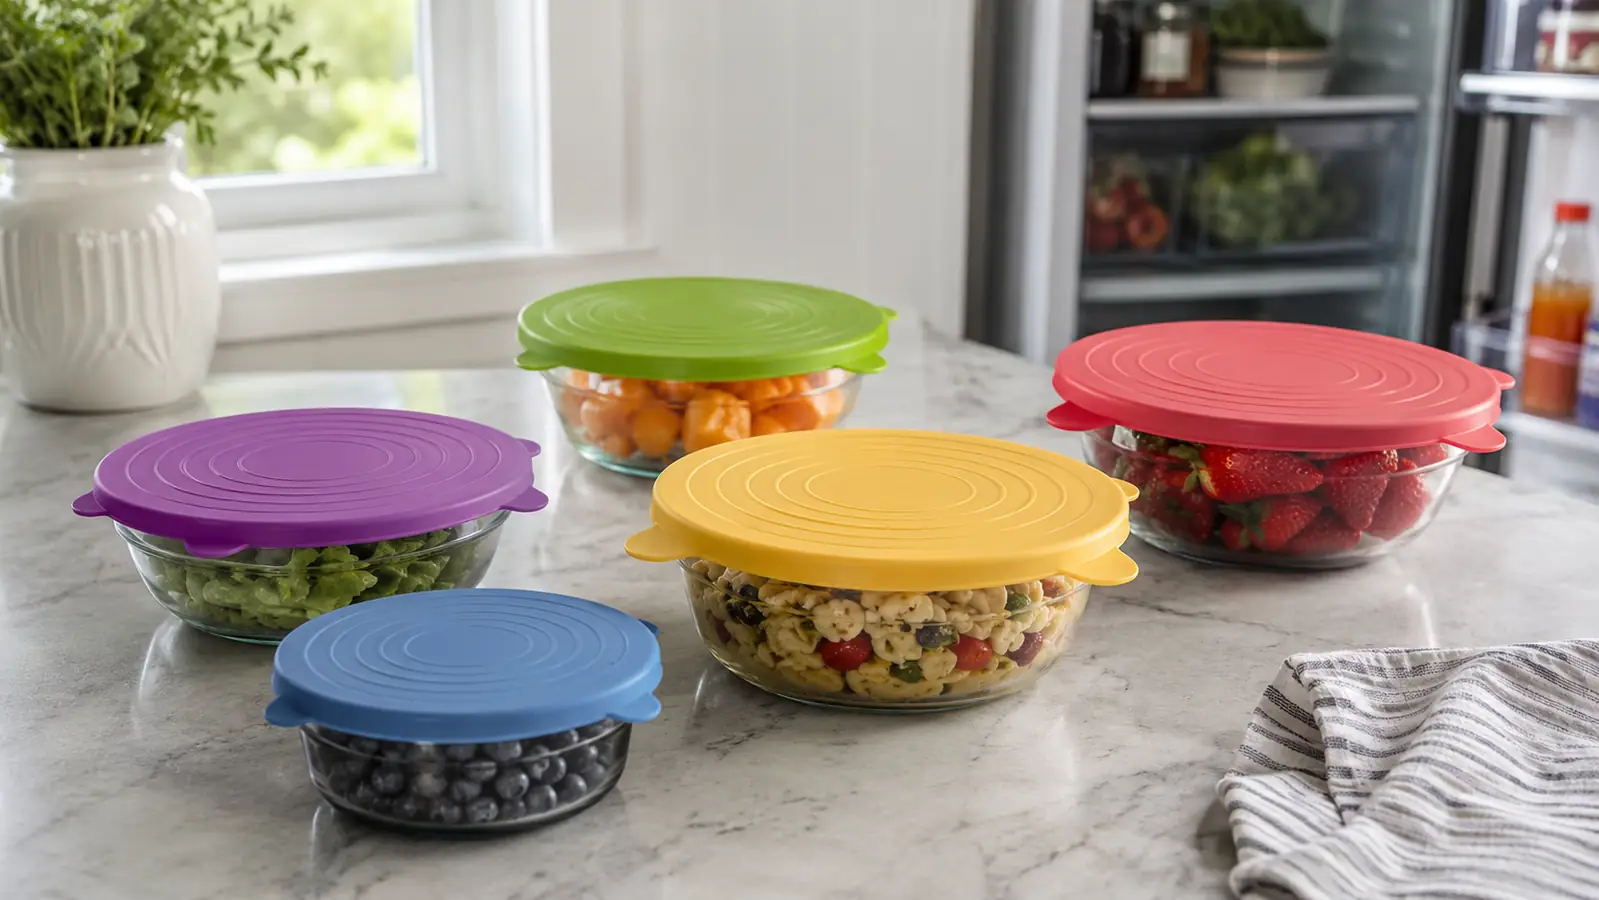
I work three twelve-hour shifts a week at the hospital, and I garden on most of the days I'm not there. Between the two, my fridge fills up fast: half a cantaloupe from the farmers market, a mixing bowl of taco filling I didn't have time to portion, an open can of tomato paste I'll need again in two days. For years I fought that mess with plastic wrap that never sat flat and foil that dented if you looked at it wrong. Once I started using silicone stretch lids, storing leftovers stopped being a daily annoyance and turned into a five-second habit.
This guide walks through exactly how I use stretch lids in my own kitchen, from the first wash out of the package to keeping them from smelling like last week's curry. I'm using the Longzon 14-pack, which includes two extra-large lids that stretch up to 9.8 inches across, because that's the set I've had in rotation for over a year. The steps apply whether you're sealing a mixing bowl, a coffee mug, half an onion, or a dented can of beans.
My kitchen runs on whatever the garden gives up that week, tomatoes and zucchini in July, jalapenos and cucumbers by August, and then whatever I've batch cooked between shifts so my husband and the kids have something real to eat on the nights I'm not home for dinner. Stretch lids ended up touching almost every part of that routine, not just the obvious mixing bowl of soup, but the odd half vegetable and the open can that used to get shoved to the back of the fridge and forgotten.
The Fix for a Fridge Full of Foil and Wrap
If your fridge looks like mine used to, a stack of bowls covered in mismatched foil that never quite seals, this is the tool that ended it. The Longzon 14-pack gives you enough sizes to cover everything from a shot glass to a full mixing bowl in one purchase.
Amazon Check Today's Price on Amazon →Step 1: Wash Every Lid Before Its First Use
Straight out of the bag, silicone stretch lids can carry a faint manufacturing smell and a light dust from packaging. Before you use any of them for the first time, run the whole set through a normal dishwasher cycle on the top rack, or hand wash with warm soapy water and let them air dry flat. I laid mine out on a dish towel overnight the first time, then stacked them by size the next morning.
This step matters more than it sounds like it should. Silicone is porous enough to hold onto smells if it sits wet in a drawer, and a lid that smells like plastic will pass that smell straight into your soup. Five minutes of washing up front saves you from tasting it later.
While you're washing the set, run a finger around the edge of each lid and check for any nicks or thin spots from shipping. It's rare, but I found one lid in my first set with a small factory flaw near the rim, and it's easier to catch that on day one than to figure out three weeks later why one particular lid keeps losing its seal.
Step 2: Match the Lid Size to What You're Covering
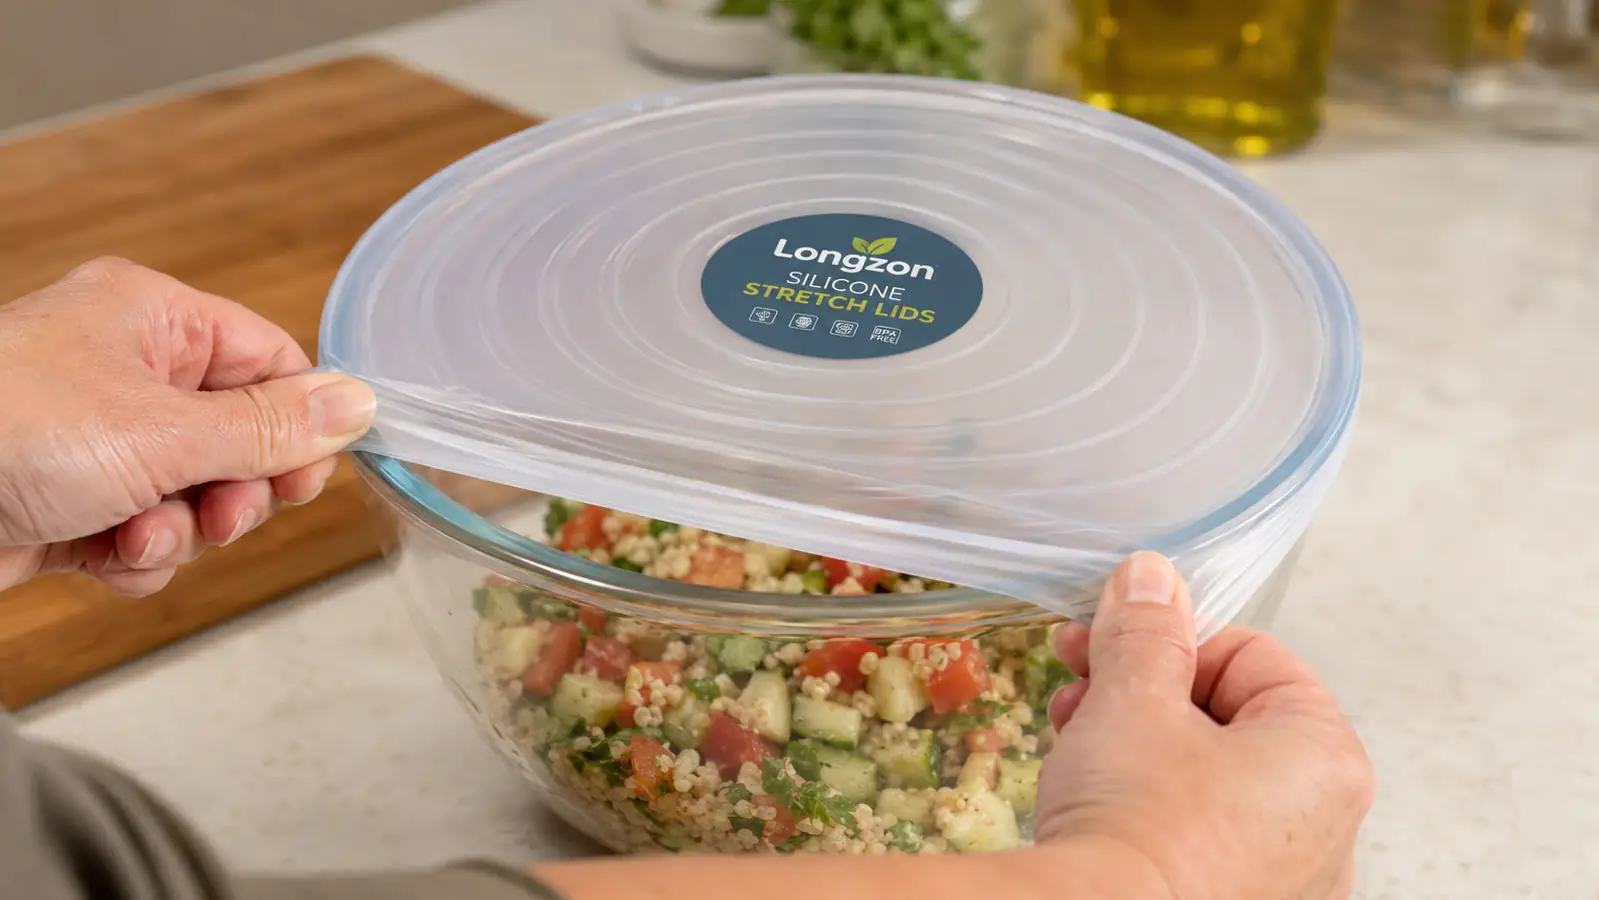
The Longzon set comes with a spread of sizes, and the trick is picking one that's just slightly smaller than the rim you're sealing. A lid that's too big will fold and pucker instead of stretching tight, and a lid that's too small won't reach the edges at all. For a standard coffee mug or a half onion, I reach for one of the smallest lids. For my go-to glass mixing bowl, which I use for everything from marinated chicken to leftover rice, I use one of the mid-size lids.
The two extra-large lids in the set, the ones that stretch to 9.8 inches, are for the big stuff: a full casserole dish, a large salad bowl, or the stockpot of soup I make every Sunday. I keep those two separate from the rest so I'm not digging through the small sizes to find them when I need to cover something big in a hurry before a shift.
If you're batch cooking for the week the way I do on my days off, it helps to lay out all your containers before you start sealing anything. I portion chicken and rice into four bowls at once, then go down the line sealing each one with the right size lid, instead of stopping mid-task to hunt for a match. One 14-pack is genuinely enough for a family of four doing this weekly, which surprised me since I expected to need a second set.
Step 3: Stretch and Seal Bowls, Cans, and Odd-Shaped Produce
To seal a bowl, grip the lid at two opposite points, pull it taut, and lower it over the rim while keeping tension until the edge grips underneath the lip. It takes maybe five seconds once you get the motion down. For cans, an open can of tomato paste or coconut milk, stretch a small lid straight over the top edge of the can itself. No need to transfer it to a container first, which is one less dish to wash.
Odd shapes are where these actually earn their keep over plastic wrap. Half a cucumber, a cut avocado, half an onion from my garden bed, none of those have a flat surface for wrap to stick to. A stretch lid grips around the curve of the vegetable itself, so the cut side stays sealed against air instead of drying out and turning brown by the next morning. I use the smallest lids in the set for this almost daily during tomato and zucchini season.
One thing I learned the slow way: don't force a lid over something with a sharp edge, like a can with a jagged lid remnant still attached. Trim the sharp edge first or transfer the contents to a bowl. Silicone stretches well, but it will tear if it catches on metal.
During peak harvest, when I'm bringing in more jalapenos and cucumbers than I can process in one evening, I'll seal a whole colander of just-picked produce with one of the extra-large lids overnight before I have time to pickle or can it properly. It buys me a day without the produce drying out on the counter, which matters when you're trying to fit canning around a work schedule instead of the other way around.
Step 4: Store Sealed Items the Right Way in the Fridge and Freezer
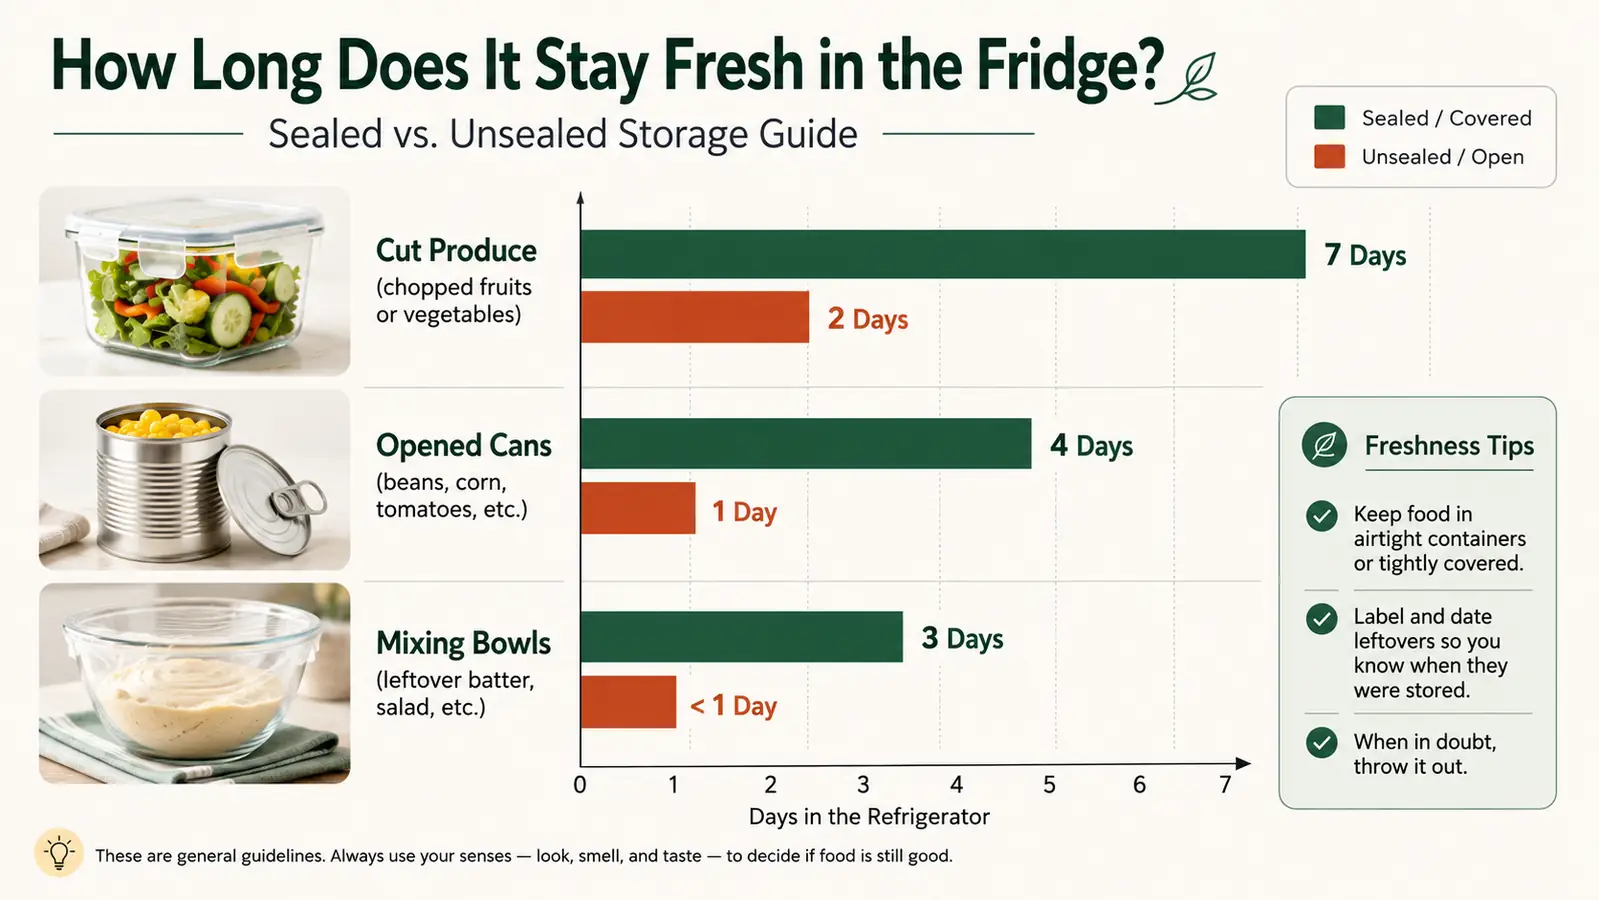
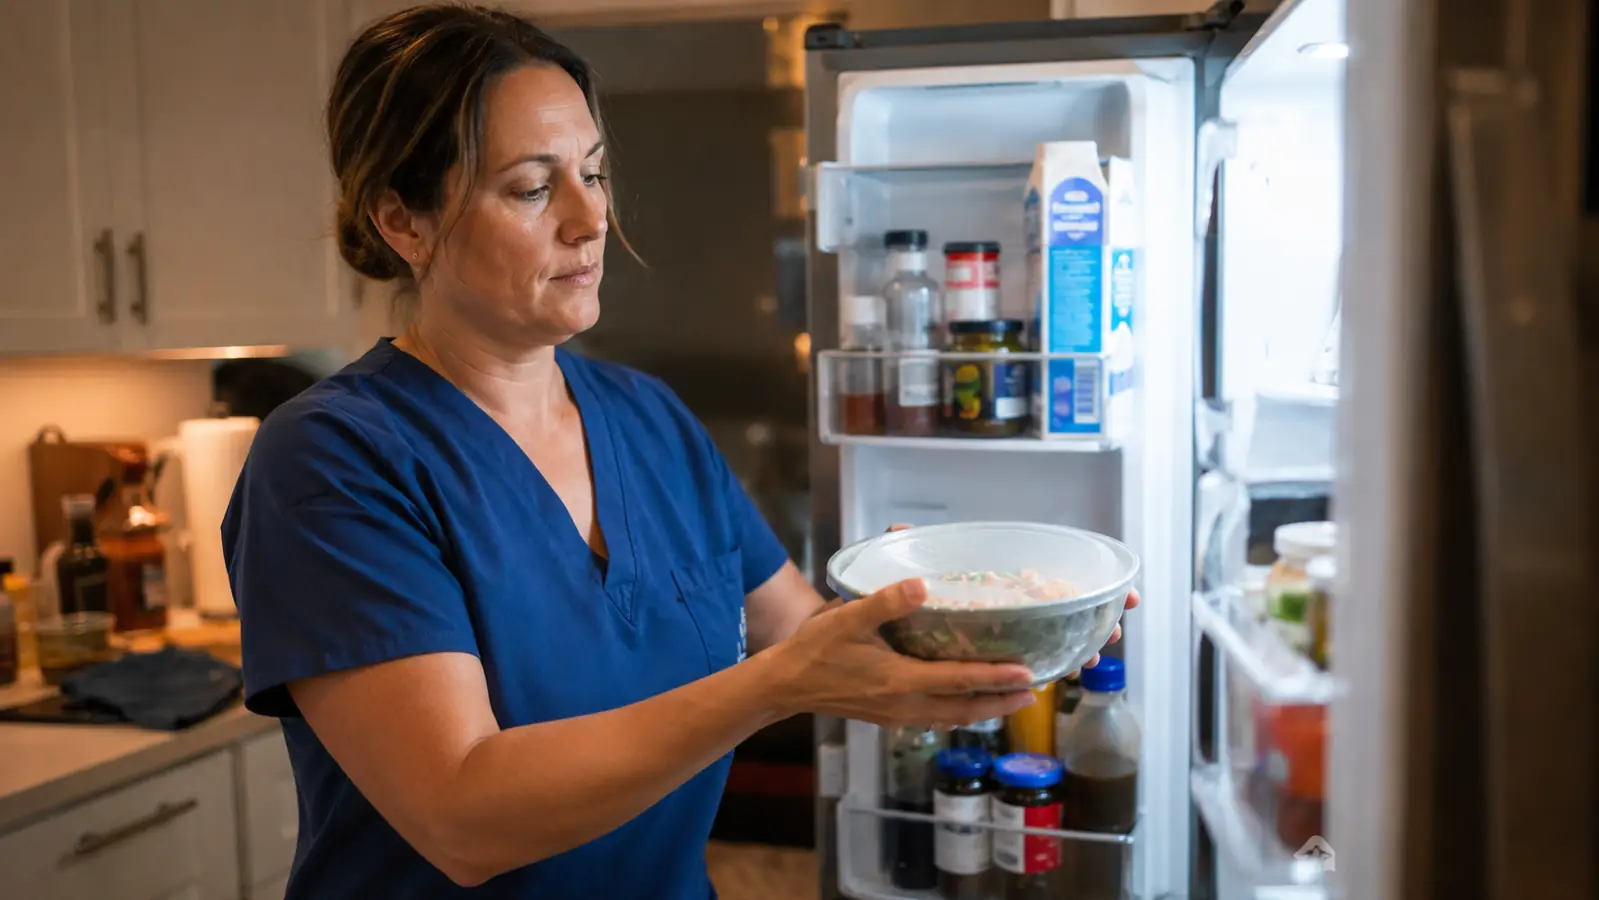
Once something is sealed, stack sealed bowls flat rather than on their sides, since the lid holds its seal best under gentle downward pressure, not sideways pressure. I keep a shelf in my fridge dedicated to sealed bowls at eye level so I actually remember what's in there instead of losing a container of leftover rice in the back for two weeks.
For the freezer, silicone stretch lids work fine on rigid containers like a quart of homemade soup or a bag of blanched green beans from the garden, but I don't rely on them alone for anything liquid that will expand as it freezes. I leave an inch of headspace in the container first, then seal with the lid, same as I would with a lid that screws on. For produce I'm freezing loose, like sliced peppers, I still use a bag, then use the stretch lid on the bowl I thaw them in later.
If you reheat food in the microwave, pull the lid off first. Silicone stretch lids are heat resistant up to a point, but they're made for sealing and refrigerator storage, not for microwaving over food, and pulling one hot and stretched can warp the shape over time.
I also keep a small dry erase marker in the kitchen drawer so I can jot the date directly on the lid before sealing a bowl of cooked leftovers. It wipes off with a damp cloth after washing, and it keeps me from playing the guessing game with food safety after a run of night shifts blur the days together. As a rule I try to use refrigerated leftovers within four days, sealed or not, and the lid mostly buys me freshness and less freezer burn, not extra shelf life beyond that.
Step 5: Clean and Store the Lids Between Uses
After you peel a lid off, rinse it right away before whatever was under it dries onto the underside. I keep a small bin on my counter just for used lids so they don't end up buried in the sink under regular dishes. Most of the Longzon set is dishwasher safe on the top rack, though I still hand wash the extra-large ones since they take up so much room folded into the utensil basket.
For storage, lay lids flat or roll them loosely rather than folding them in tight creases. Folding the same crease over and over for months can weaken that spot, and a weak spot is where a tear eventually starts. I keep mine in a shallow drawer near the bowls they seal, sorted roughly by size, so grabbing the right one during a rushed weeknight dinner takes no thought at all.
If a lid picks up a stubborn onion or garlic smell that a normal wash won't touch, soak it for twenty minutes in warm water with a spoonful of baking soda, then rinse and air dry. I do this maybe once a month for the lids that see the most garden produce, and it's kept the whole set smelling like nothing at all, which is exactly what you want from something that touches your food.
What Else Helps
A few habits make stretch lids work even better once you're past the basics. Label nothing, honestly, since the whole point is you can see through most of them to what's inside, which is more than I can say for foil. Keep a size chart taped inside a cabinet door until you've memorized which lid fits which bowl, because in the first couple weeks I definitely grabbed the wrong size more than once. And do a quick check every few months for any lids that have gone stiff or discolored at the edges. Silicone lasts a long time, but it's not forever, and a stiff lid won't seal as well as a fresh one.
I've also stopped buying plastic wrap almost entirely, which was never really the plan going in, it just happened. A roll used to disappear from my kitchen every few weeks between covering bowls and wrapping cut produce, and now that spend is just gone. If you host anything, a potluck, a family dinner, the lids double as quick covers for serving bowls between rounds, which saves you from finding enough matching plates to cover everything at once.
The night I stopped hunting for a matching lid at eleven p.m. after a twelve-hour shift is the night I actually understood what these were for.
Stop Losing Leftovers to Foil That Won't Sit Flat
If you're tired of a fridge full of mismatched containers and torn plastic wrap, the Longzon 14-pack covers nearly everything you own in one set, from a coffee mug to a full mixing bowl.
Amazon Check Today's Price on Amazon →